The Children's Ministry of First Free Will Baptist Church of Chipley
F.I.S.H. for Kidz Ministry
  • Home
  • Who Are We?
  • Get Plugged In!
    • Kidz Church
    • Young-N-Free Preteen Ministry
  • Events
  • Parent's Corner
  • Series Blog
  • FFWB Website

Christmas At The Palace

12/6/2015

0 Comments

 
Picture
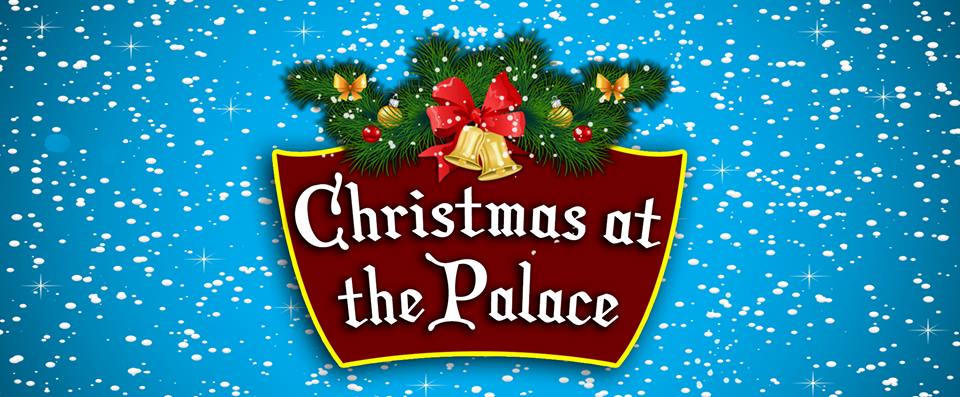
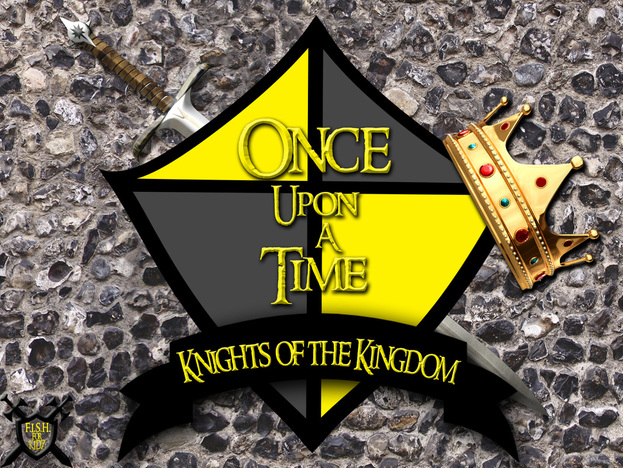
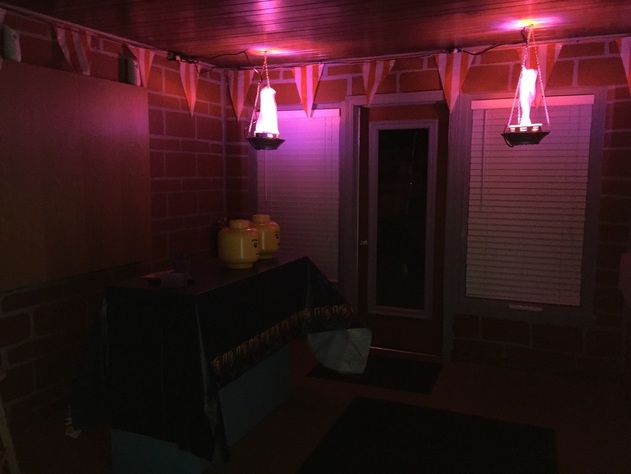
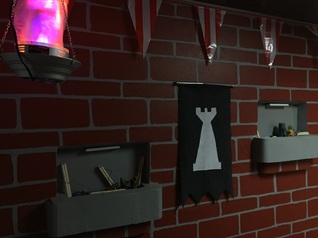
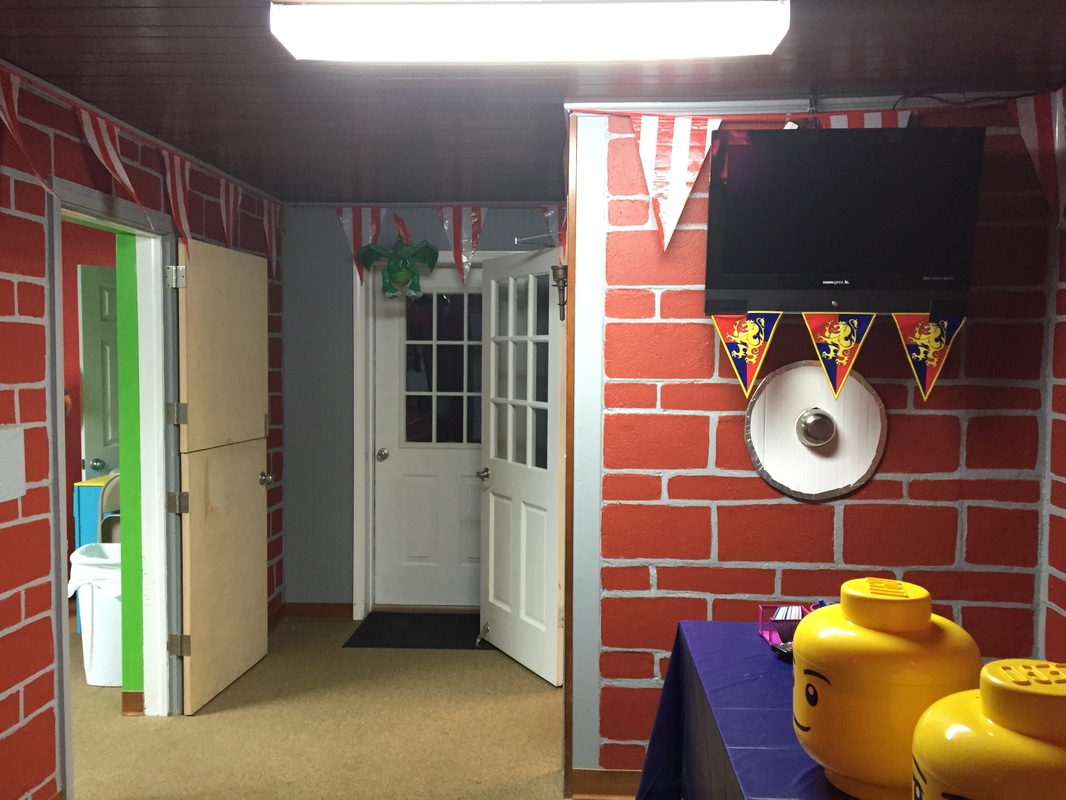
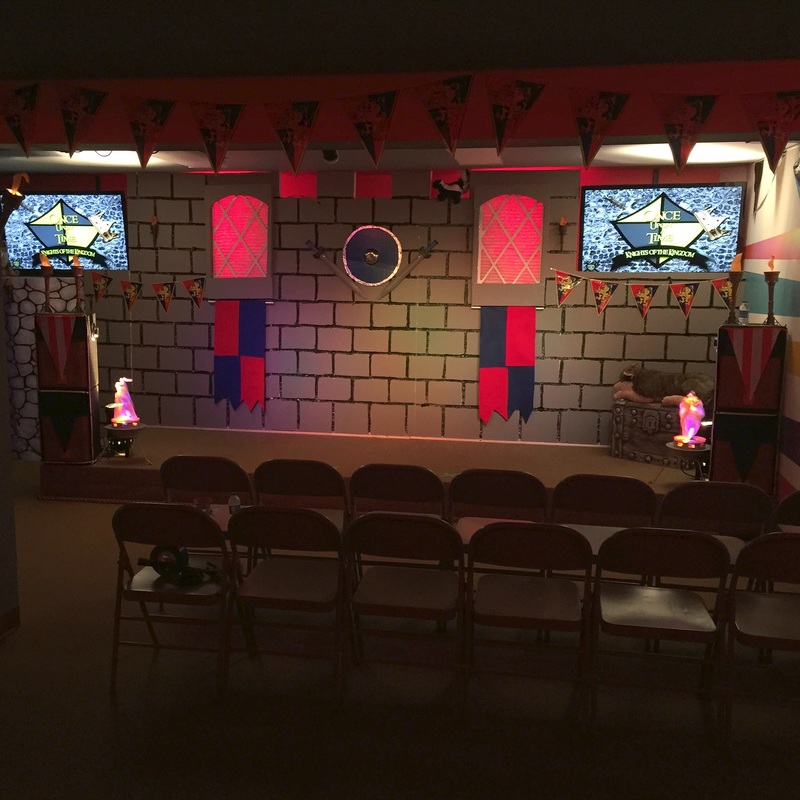
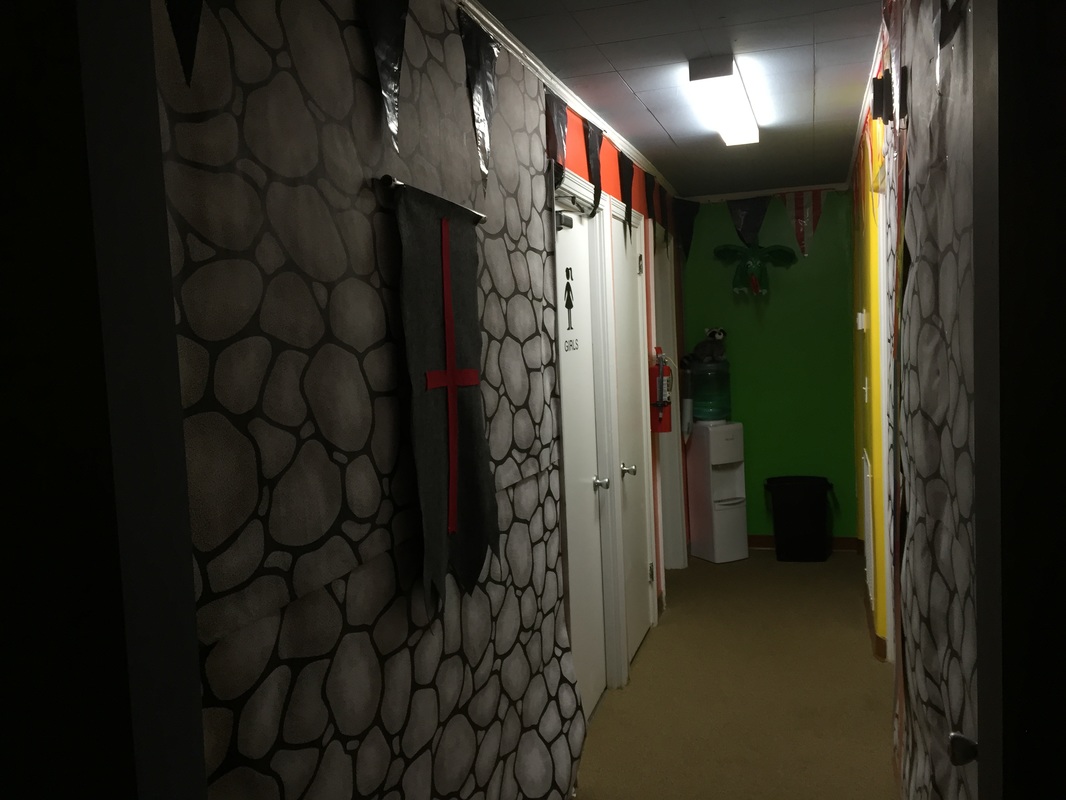
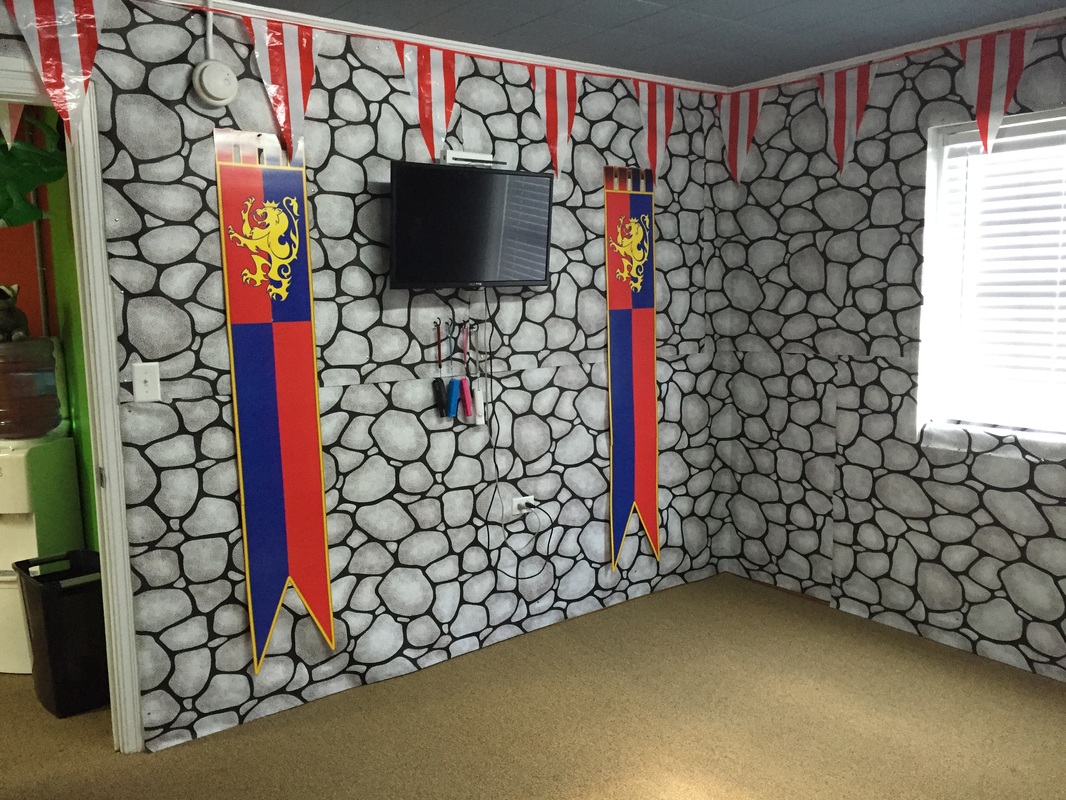
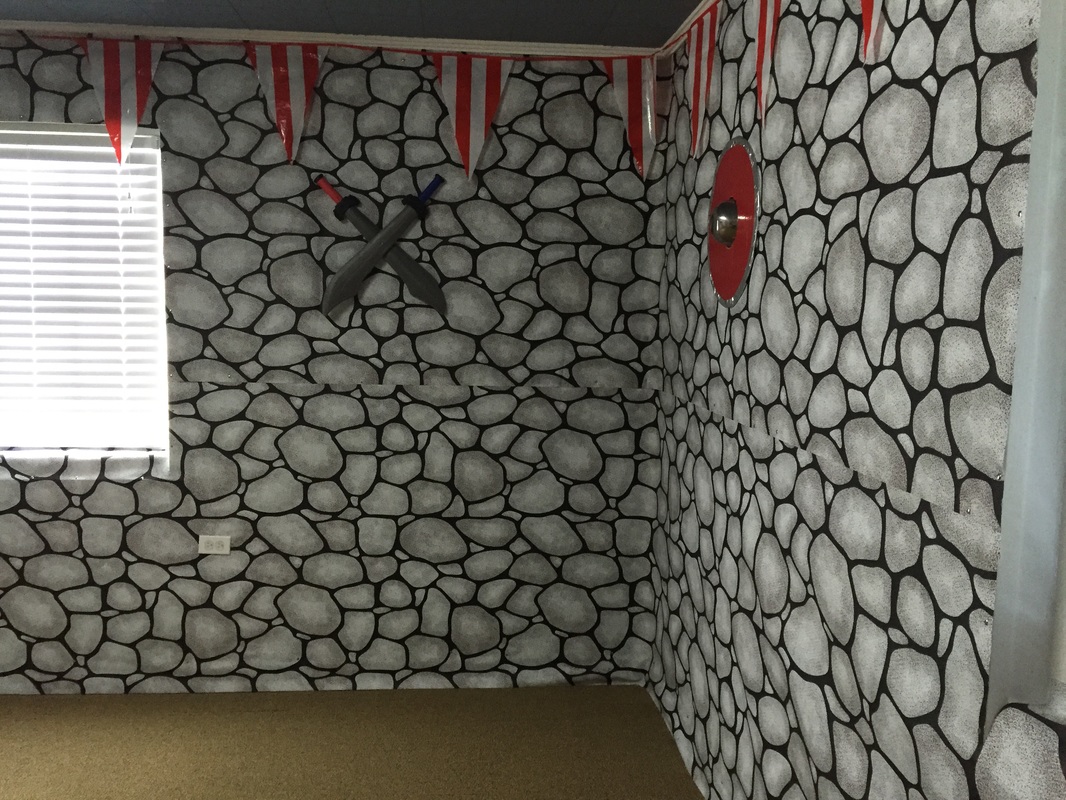
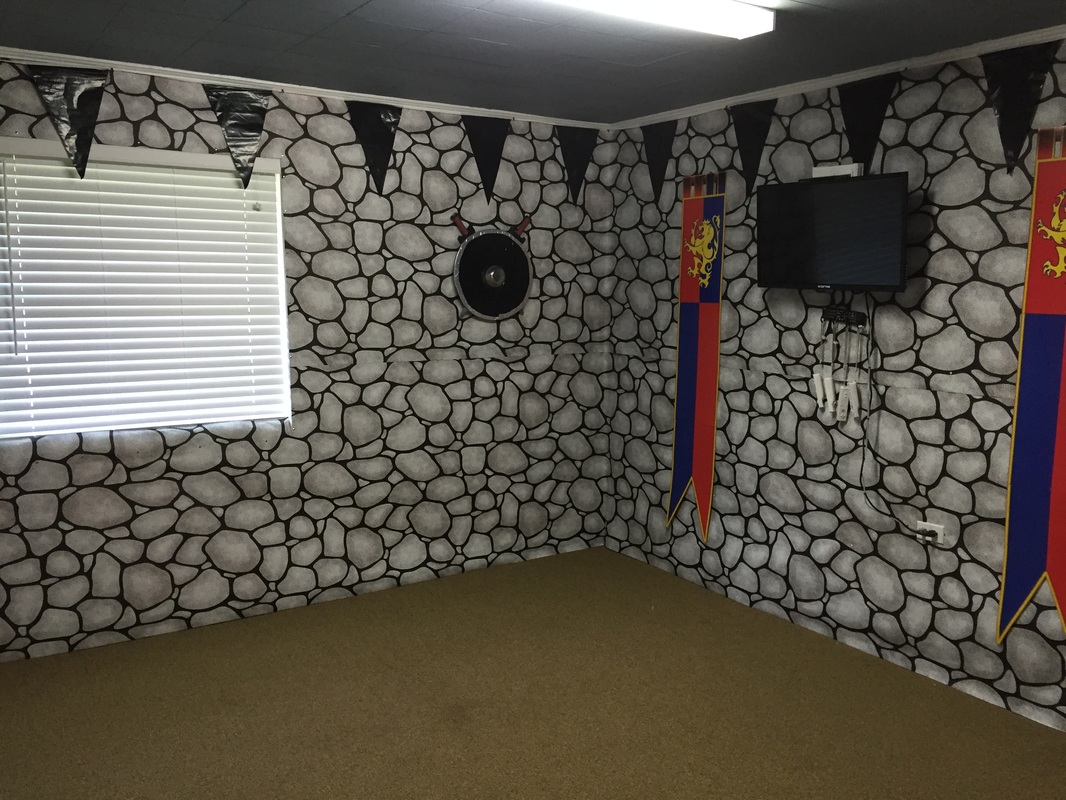
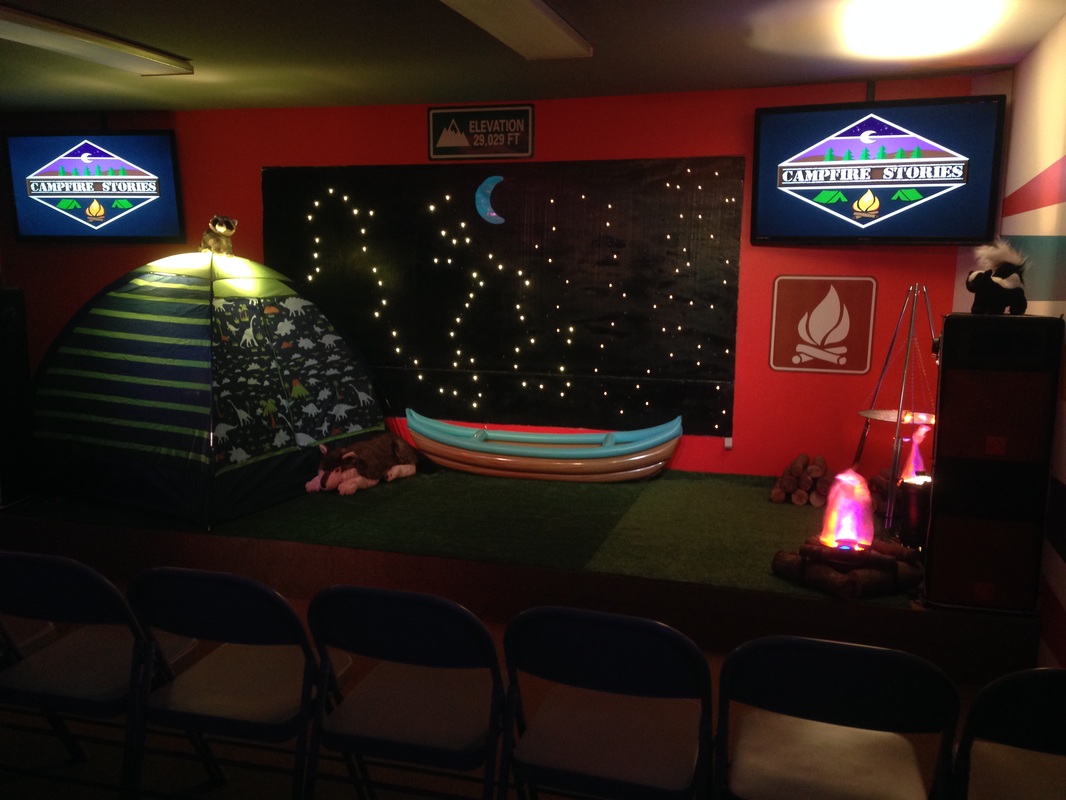
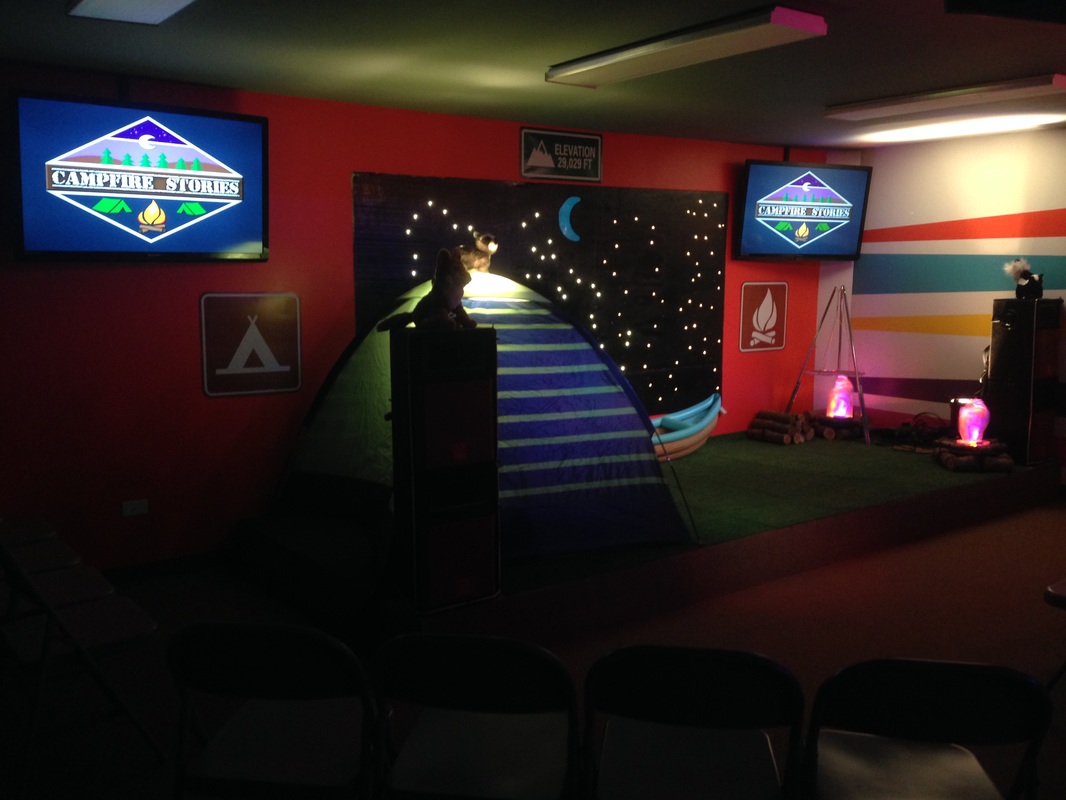
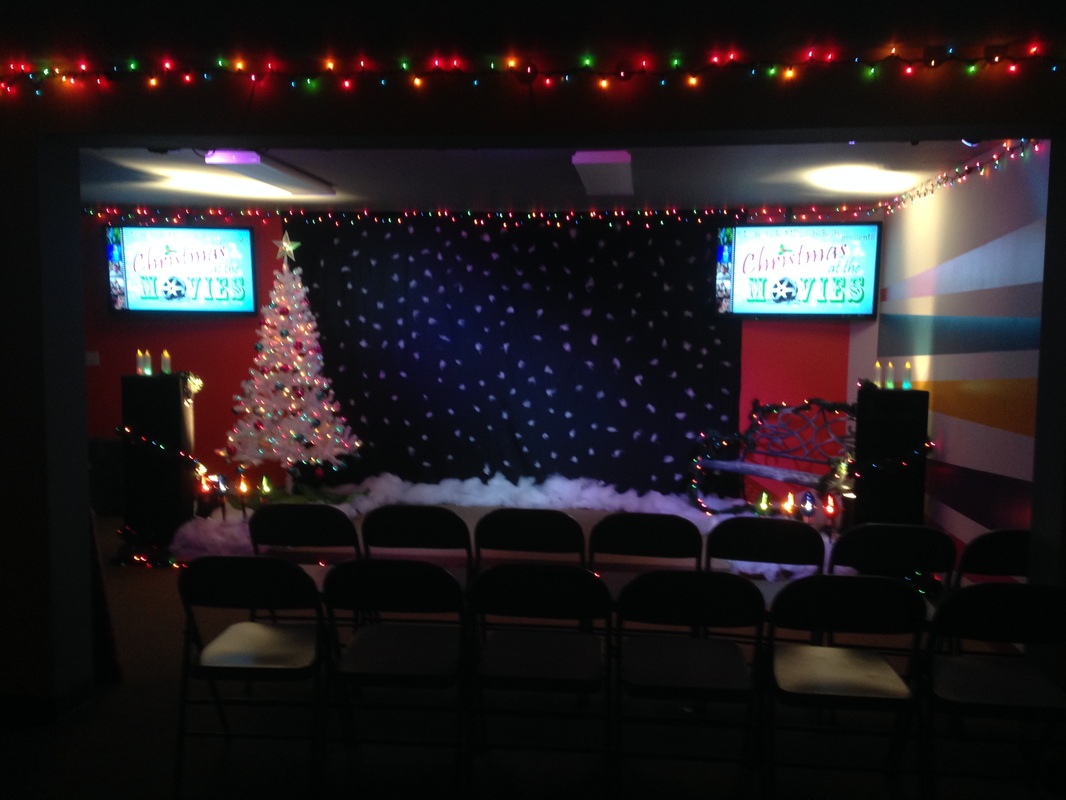
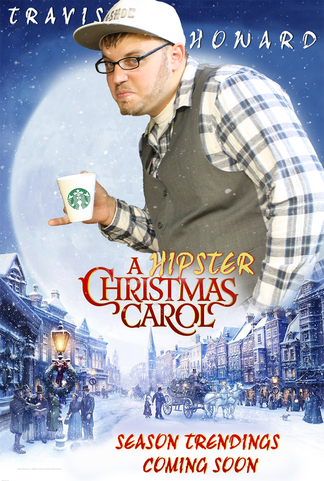
We ran with the same kind of Kingdom feel...think Frozen type series with a Christmas outlook. It took minimal decorating, we just brought out all of our Christmas decorations from last year. We always start our Christmas series at the beginning of November because we want to get the most use out of our Christmas decorations every year.
Picture
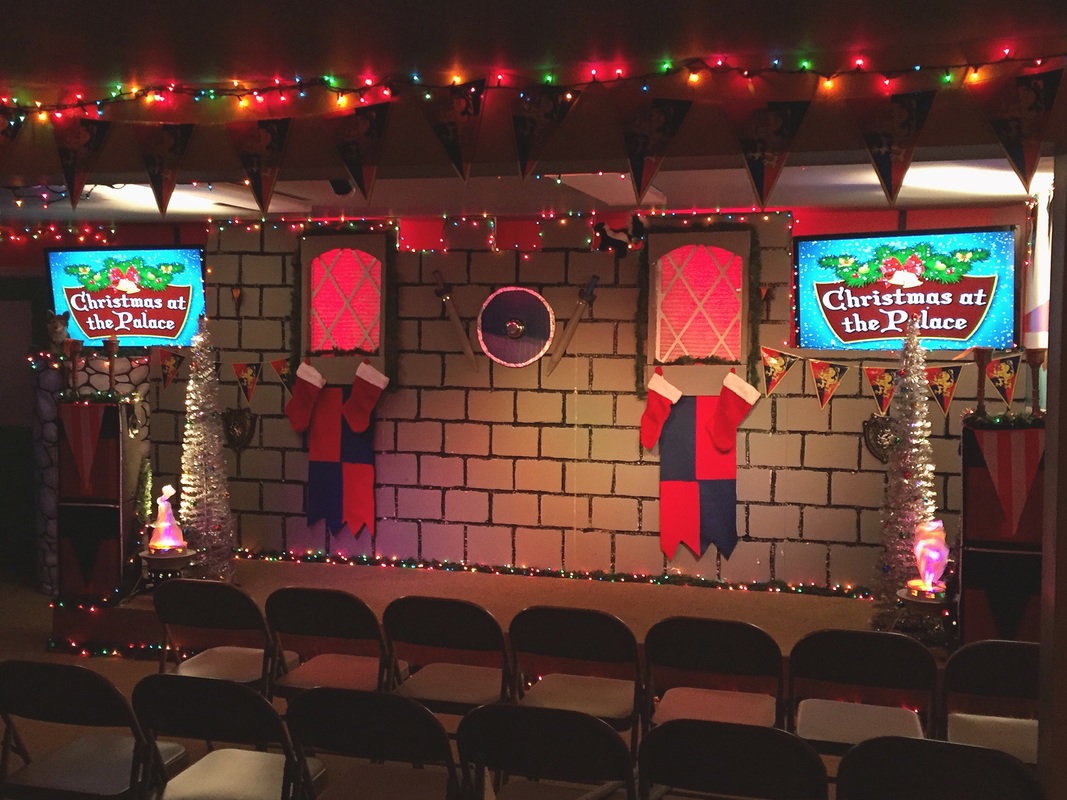
All of our decorations were purchased from Walmart in 2014 and mixed in with our Once Upon A Time stuff.
0 Comments

Mystery MAnor

12/6/2015

0 Comments

 
Picture
So, we totally jacked the title of this Halloween Series, but customized our logo. We don't have any pictures of the stage by itself because we really didn't do anything extremely different than the last series, Once Upon A Time. We kept all of the foam up on the inside and outside. The classrooms were the same, with the same kind of Halloween decorations. All of the props and decorations are from Dollar Tree. 
Picture
This is the outside of the building.
Picture
0 Comments

Once Upon a Time: Knights of the Kingdom

8/27/2015

0 Comments

 
Picture
We kicked off our Medieval themed series, Once Upon A Time, in August. In this series, we focused on the Kings of Israel and the King of Kings, Jesus. We went all out for this series, from the inside to the outside. I'll share all of the pics and highlight some of our decorations!
Picture
Picture
We about bought out Lowes with this series! One of the highlights of this series was the draw bridge. It was made with 6' fence planks, screwed together with a 1x2 and tied to two strands of 10' chains.
Picture
Picture
We got the idea from Kingdom Rock VBS people on Pinterest to cover our outside walls in 2" thick foam and use acetone to create faux blocks in the foam. We painted the faux blocks and lines with grey and black latex paint from Walmart that ran us around $10 per can.
Picture
We created the flag poles in front of the draw bridge with bathroom trash bins filled with Sakrete. The poles are PVC pipes secured by screwing it to the bins. The cross flags were made by our awesome preacher's wife with felt purchased from Walmart.
Picture
We purchased more of the faux fires from amazon (the same we bought for the camping series) and used chains that they came with in our check-in area. The red and white flags hanging from the ceiling came from oriental trading. The table cloth on the check-in desk was purchased from shindigz.com. 
Picture
Picture
This is the walk-in view of our check-in area. We have more of those awesome banners made by our awesome preacher's wife! We purchased a blow up dragon from amazon and the homemade shield on the wall under the TV was made with cardboard, duct tape, a small silver bowl from dollar tree, and a Pinterest instruction manual.
Picture
Our stage set up was made with the same foam idea as the outside of our building. The windows are air filters back lit with a red can light. The lion flags were purchased from shindigz.com. The center piece is another homemade duct shield and toy swords purchased from Walmart. The banners under our windows were more made by our awesome preacher's wife.
Picture
We purchased the rock paper from shindigz.com and we have another awesome homemade banner.
Picture
Picture
Picture
Our classrooms turned out nicely with the rock paper and decorations.
0 Comments

Kidz Beach Movie

8/24/2015

0 Comments

 
Picture
We kicked off our Kidz Beach Series, June 21st! We decided to go with a beachy theme for the summer because who doesn't associate the beach with summer. Our check in station was eqipped with a shark tank. The shark was made with blue bulletin board paper, black duct tape, and a pinterest guide to making it. The grass around the bottom of the desk is a grass table skirt.
Picture
Our stage was transformed into a beach getaway. The window that is located in the middle of our stage that I've talked about in my previous blogs (which you can check out below), was a unique thing to cover for this series. The metal (below) and corrugated plastic (you see me fitting for the window) were purchased all at Lowes. 
Picture
Picture
We purchased two light bars from Amazon that fit perfectly into the window seal to light up our colored floats.
Picture
Our end result looked something like this! We re-used the fires and canoe from our camping series to give us the right feel. We purchased several more blow up trees, beach balls, and several beach type signs from Amazon. 
Picture
This series was one of our more plain series,but it was perfect for the summer!
0 Comments

Campfire Stories

4/25/2015

0 Comments

 
Picture
Another month, another series to decorate for...so awesome! The second week in April, we started our campfire stories series. This series entails of Old Testament stories that could have and probably were told around a campfire.
Picture
This has been our favorite decorations of any of our past series. The best is always yet to come. We'll start with our logo, my wonderful wife made it with Adobe Photoshop. The signs, such as the campfire one on the wall and the elevation one, are all from Oriental Trading along with the canoe. The tent and the cooking tripod that you see in the far right corner came from our local Walmart. We purchased the astro turf, all of the furry animals, and the starry lights from Amazon. The biggest question that we have received is where did you get the campfire flames? Well, we purchased them from amazon and they are called Chauvet BOB LED Simulated Flame Effect With No Heat. They are made for DJ's that want that cool flame effect. We took them off of their stands and chopped up some real scrap wood to give it that campfire look. The starry sky is placed in a window frame (if you haven't read our past series descriptions take a look and we explained in detail about that crazy window in the middle of the stage area). We purchased the biggest pieces of styrofoam board we could buy at Lowes and pieced them together to fit that pesky window frame and spray painted it black. We bought Christmas lights that have a twinkle setting and stuck each individual light through to the other side. We bought a blue light bulb with a small lamp stand to fit behind the starry sky and cut the moon shape to give it that final touch.
Picture
Picture
0 Comments

Lego: Connect With God Series

2/26/2015

1 Comment

 
Picture
In mid February, we started our Lego series. This series was an awesome way to illustrate how we can connect with God and how He wants to use us. Several of our Kidz loved helping out with decorating for this one!
Picture
I know what your thinking...did you make those Lego heads??? LOL The answer is NO, we purchased those from amazon, the one on the left is a girl and the one on the right is a guy. We went to our local Badcock store and they always have cardboard that needs to be hauled to the dumpster. We used a big sheet of what we found out there to cover the window (we've talked about it in our other series decorations blogs.) In order to make the Lego 3D, we used white masking tape to place paper plates on to the cardboard to form pegs and then spray painted each color. We used a sheet and painters tape to make the Lego lines as straight as we could, but we still had to go back and touch them up after we placed our art. The giant green Lego under the wall Lego art is two almost 7ft cardboard boxes taped together to form one giant mega block. The pegs of that Lego are paper bowls. We wanted it to have a deeper extrusion than the wall one. We had some of our Kidz make the Lego in front of that block out of mega blocks. The brown and pink small Legos on the ground by the speakers are cardboard boxes with paper bowls taped with masking tape and spray painted.
Picture
We wanted to make sure our passer bys could see what series we were on so we created some more Legos that are made of cardboard expect they can with stand rain. All of these Legos are cardboard boxes (the red and blue are two of them stacked and taped on top of each other) with paper bowls taped to the top of them with masking tape and spray painted. We used a never wet spray purchased from Amazon to make sure these boxes could with stand the rain and they held up for a good four weeks. Any kind of questions you may have about this series let us know and we can help you in any way we can!
1 Comment

Kidz Meet World Series

2/26/2015

0 Comments

 
Picture
We kicked off a missions series in mid January. We wanted to create a series that would grab the attention of our Kidz, so we racked our brains and used the name of a new TV show that is popular among the Kidz, Girl Meets World. Being that I am a 90s kid, Boy Meets World was always one of me and my wife's favorite shows even to this day. We were pumped when they started making a show for kids of this generation that brings back some of our favorite characters from our show. It's a clean cut show that is very popular with kids of all ages now. Anyways, we used that theme to create a missions series, Kidz Meet World. We talked about all kinds of mission opportunities and we raised food for our local food pantry for this whole month, also. We discussed our local, national, and international need to spread the Gospel. Acts 1:8 hits on our main focus, "But you will receive power when the Holy Spirit comes on you; and you will be my witnesses in Jerusalem, and in all Judea and Samaria, and to the ends of the earth.”
Picture
If you look back at our past series decorations, you'll see a black sheet that we used originally to cover up a big window that covers about 95% of our stage. This series is when we finally used that space to our advantage. We built a frame to fit just inside of the window casing with about 4 studs across the frame so we can mount decorations of any series to it. We purchased a bulletin board (left hand corner). We found an old thin white board from one of our old classrooms and cut it in half to fit into that bottom left and corner. We purchased plastic world flags and welcome banners from amazon. The bottom sides of the welcome banner are cork board roll sheets, we had to cut them so the welcome banner covered up our slices and made it look like one long roll. The black board is an old foam/Sheetrock/I'm not sure what else bulletin board we used that used to be in an old classroom of ours. We spray painted it with chalkboard paint from Walmart and had our awesome Preacher's wife draw our series logo on it with chalk. We applied several coats just to make sure it was chalk usable. We had an old school desk sitting around and a choir chair that completed our student set up. We purchased a 20" blow up earth ball and globes that we mounted to our speakers. You can't see it well here, but we made giant paper airplanes out of poster board hung one right above the desk, in our entry way, and two outside on each side of our doorway. Anything else that you would like to know that we did just ask away and we will help you as much as we can!
0 Comments

Christmas at The Movies Series

2/26/2015

0 Comments

 
We started in early November preparing for Christmas because I don't know about you, but I can't stand putting up Christmas decorations and then tearing them down like 3 weeks later. We wanted to get the most out of our decorations. You've probably heard of this kind of series because many other churches have used this theme. We decided, we wanted to make it our own and go all out for Christmas. In our series, we highlighted some of our Christmas favorites, Elf, A Christmas Carol, The Grinch, Home Alone, Frozen and The Nativity. There are so many things that we found in these movies that convey scripture and we ran with it. We kept our Christmas decorations up from early November to Mid January. We ended with Frozen because technically it's not a Christmas Movie, but it is because it has snow! Don't ask... our Kidz just love Frozen so we we did a three week series to wrap it up.  
Picture
We draped all of our ceilings with Christmas lights from one corner to another. It illuminated the room like crazy and really worked out well! We added a Christmas Tree, a park bench, lighted garland, big sidewalk Christmas bulb lights and dollar tree lighted candles. We sprayed all of our windows with spray snow and our park bench, as well. We placed cotton snow all around our stage except for the spot our preteens stand to lead worship. The black sheet is something that we used when we first moved in the building to hide a massive window that takes up 95% percent of our stage space, it's awful for us, but it has become an advantage as time has passed.  When we started this series, there was nothing we could do about it so we improvised and took some of the excess snow we had and stuck it all around the sheet to represent snow falling. 
Picture
Picture
We decorated our hallway and entry way with our own rendition of the movies we highlighted. We had Frozen (which we turned into UnFrozen), Elf (which we turned into Selfie), A Christmas Carol (which we turned into A Hipster Christmas Carol), Home Alone (which we turned into Not So Home Alone), and The Grinch (which we turned into Mr.Stinch.) We used vistaprint.com and printed out a large size of each one of posters we made. These were a big hit and we have the Photoshop files for everything we created and if you would want them just comment and let us know. We'd be happy to send them to you!
0 Comments

TMNT Themed Stage/Series

2/26/2015

0 Comments

 
In Sept. of 2014, we set out on a journey to create a series that was relevant and talked about among our Kidz. We just moved into our new kidz church building about 4 weeks prior and we want to start off the school year with a bang, so we chose the best thing that came out in theaters, Teenage Mutant Ninja Turtles. Now, whether you liked the movie or not, Kidz everywhere were dying to see it because it was new and improved instead of the old 90s version with the guys in the big bulky green suits. You may be thinking...hmmmm......what does the Teenage Mutant Ninja Turtles have to do with Jesus? Well, the producer of the movie may not proclaim the name of Christ, but you can clearly see how the movie conveys the truth of scripture. The ultimate purpose of this series was to show the effectiveness of a community of believers working together. We highlighted Splinter, Donatello, Leonardo, Michelangelo, Raphael,and Shredder. We took each one of these characters, examined their traits and taught the kidz on their level about scripture. If you're a fan a TMNT then it won't be a problem to notice how each one relates so well to scripture.
Picture
The backdrop was a wooden frame big enough to fit across our stage with 3 sometimes 4 of our preteens leading worship. It has 9 clear light panels from Lowes (the things that cover fluorescent lights in a drop ceiling) double sided taped to the frame and covered with black duck tape to make it look uniform all together. Along the top of the frame, we put tinfoil so that the lights sitting behind the frame would illuminate better. We asked our local Pizza Hut for some boxes because Turtles love pizza! We added some bricks to our theme just to make it look more New Yorkish!
Picture
We created a logo to look like a replica of the movie's title, so the Kidz would recognize it. Here's the Photoshop file if you want to fit it to your ministry. There may be a few fonts you would need to download but you can find them at dafont.com.
TMNT LOGO
File Size: 1545 kb
File Type: psd
Download File

0 Comments

    RSS Feed

Powered by Create your own unique website with customizable templates.